Freeform Crochet
Lately I’ve been entangled in the inspiring world of Freeform Crochet. I stumbled upon it by chance and got instantly hooked – pun intended! Smile!
Limitations are not for me. I like to learn about things, like a new technique, but before I know it I’ve taken the idea apart and rearranged it into something new.
Freeform Crochet does exactly that!
Amy Solovay says on about.com that “Traditional crochet is typically orderly; you’d expect it to be worked in well-organized rounds or rows.” Then she continues: “The freeform crocheter can toss any or all of those expectations out the window if (s)he chooses. Forget the pattern; (s)he’ll make it up as (s)he goes along. Forget the orderly rounds and rows. (S)he will draw up a loop in any spot (s)he chooses, helter-skelter.”
Wonderful! I love it!
Freeform crochet creates a material that can be full of different colors, yarns, patterns and textures. It can be as intricate as the work of Prudence Mapstone, who also includes knitting techniques, or as simple as the 60’ hippie style. The material can be used for clothing, bags, hats, jewelry, pillows or blankets or many other things. Take a look! There’s even a special guild for freeform crochet!
The finished material can be thick and solid or light and lace-like or anything in between. Buttons, beads, trinkets, lace and fabric scraps can be included. This is truly a wonderful and fun way to use up bits and pieces and odd stuff in your sewing collection! Thrifty, eh?! And let’s not forget to add some embroidery too! For instance, French Knots or Seed Stitch give some nice color to the middle of a flower …
The material is normally done by crocheting small pieces called “scrumbles” that are later joined together, or it can be made in one continuous piece. You can start by making scrumbles and later decide what you want to make of them. Or, you can find a pattern for a project like a bag or a vest and start making the pieces for it.
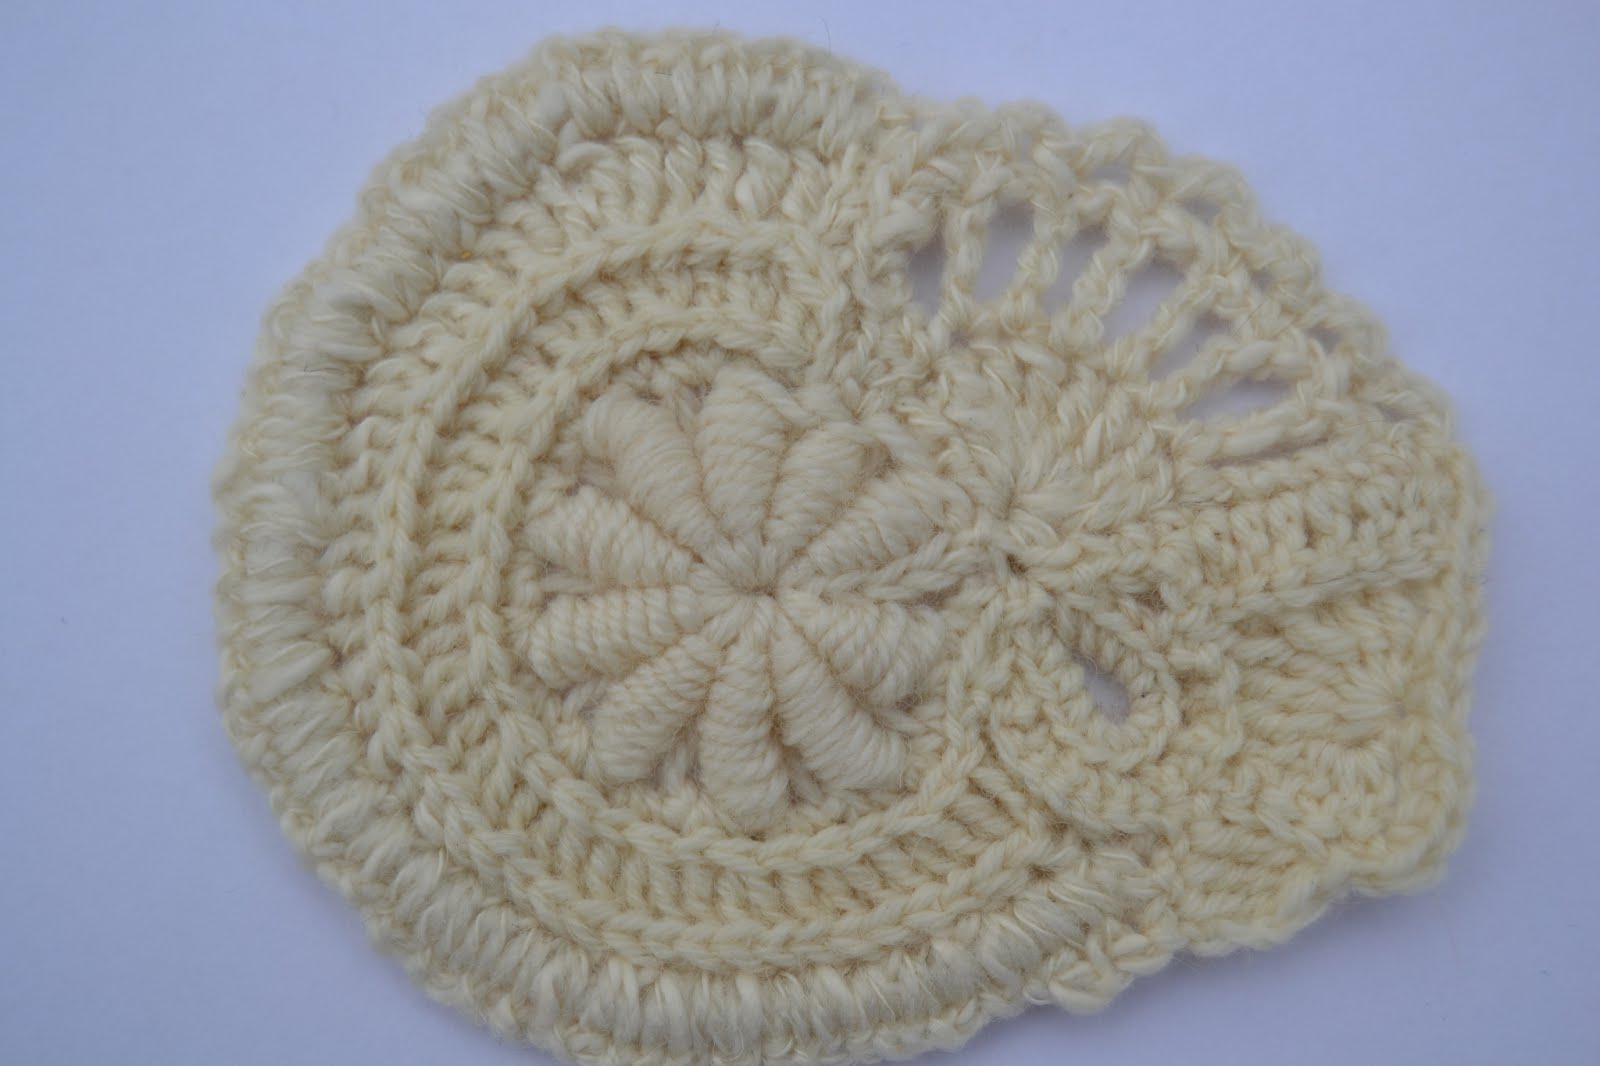
Here’s my first scrumble made of different cream-colored leftover wool yarns:
I’m not an avid crocheter and my work has so far involved orderly single and double crochet. Now I’ve jumped down the rabbit hole and am in the process of discovering so many new ways of arranging the simple stitches into something absolutely stunning.
In case you do not know how to crochet but would like to learn, I highly recommend the tutorials by Teresa Richardson at Crochet Geek.
Here’s the first special stitch I’ve learned:
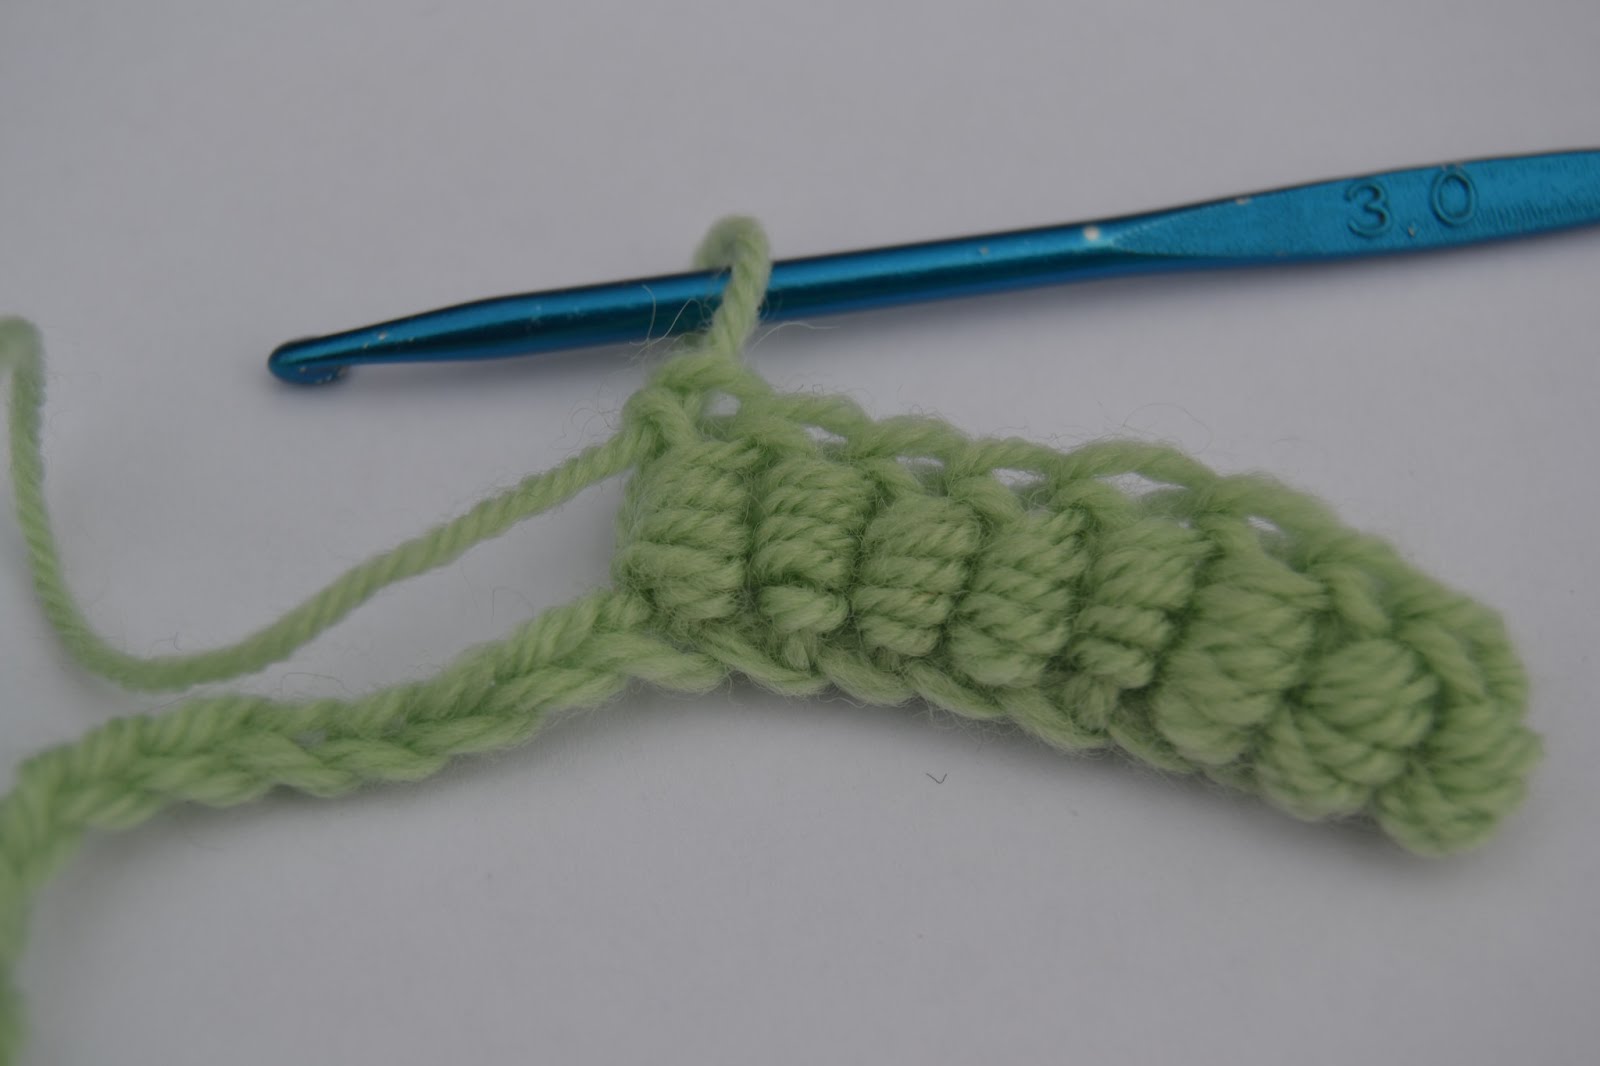
Crochet Bullion Stitch
The bullion stitch is made by wrapping the yarn around the hook and then pulling a loop trough all the loops. This is a very decorative stitch that can be used in many ways. It’s a bit tricky though and there’s different ways to make it.
I first learned it from this video. It’s by a Russian lady. I don’t understand a word, but she shows the method very clearly. Here’s a photo tutorial by Robin on crochetspot.com. I like this video by Teresa the Crochet Geek. She shows how difficult it is to pull the yarn through all the wraps and her different ways of making it easier.
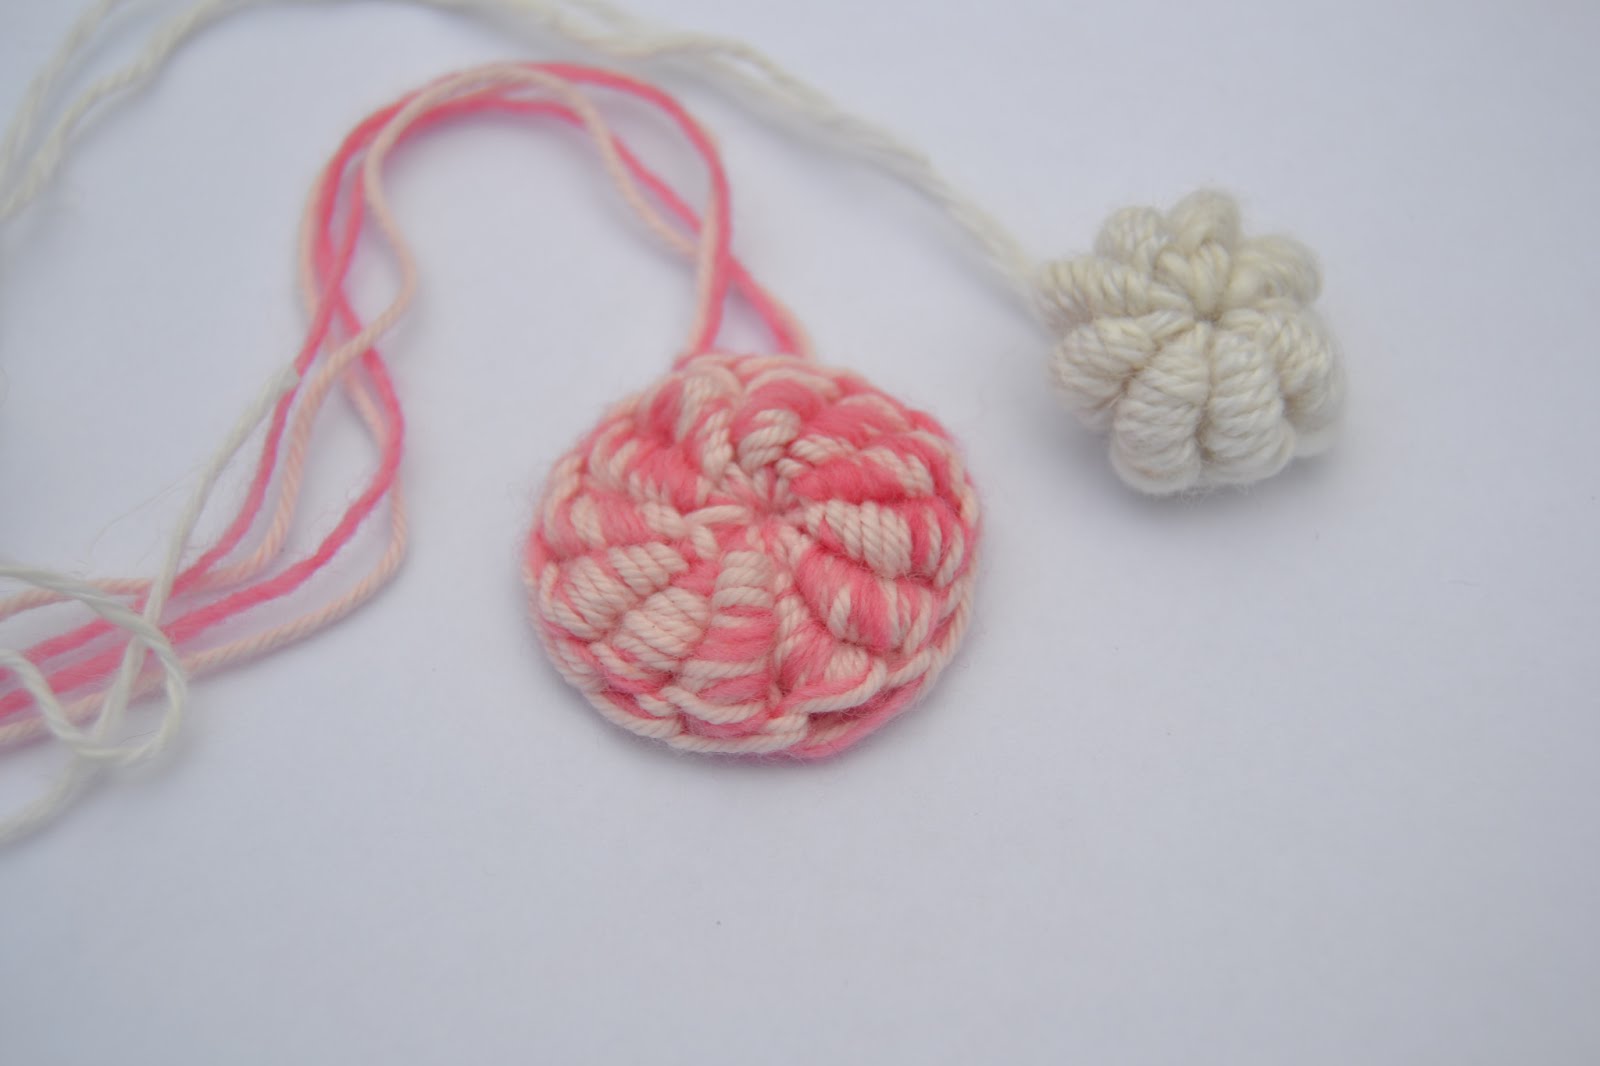
You can make bullion stitches around a ring to form a flower or a medallion. With less stitches and by pulling the stitches a bit, it becomes more of a sea urchin or shell. The bullion stitch can also be made into a straight or meandering row.
This is how I made my bullion flower/medallion:
Start with a magic circle. Chain 3. Make the bullion stitch by placing a big needle on top of the hook and wrapping the yarn over 10 times. Hold the wraps in place with one finger, bring the hook around the magic circle, yarn over and gently pull it through the wraps. Remove the needle. Chain one. See the Russian lady’s tutorial.
I made twelve bullion stitches and pulled the magic circle tight. Slip stitch in the top of the first bullion stitch. Fasten off.
The shell/urchin is made with just eight bullion stitches.
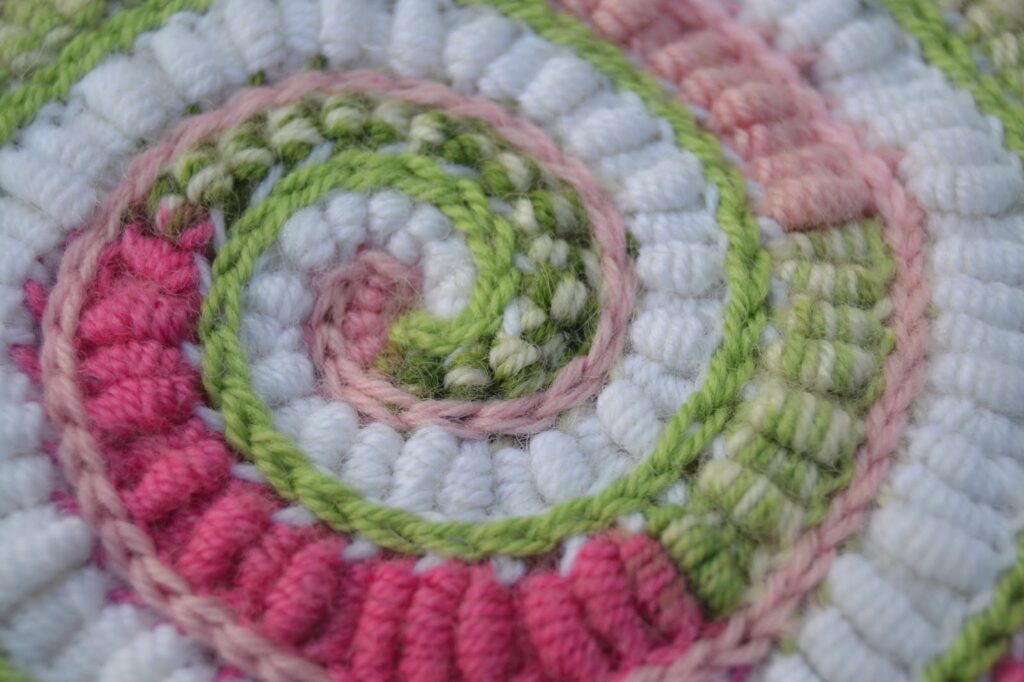
In Part 2 I’ll show you how to make a spiral!

Pull out all those leftover yarns and start creating!
~Marina
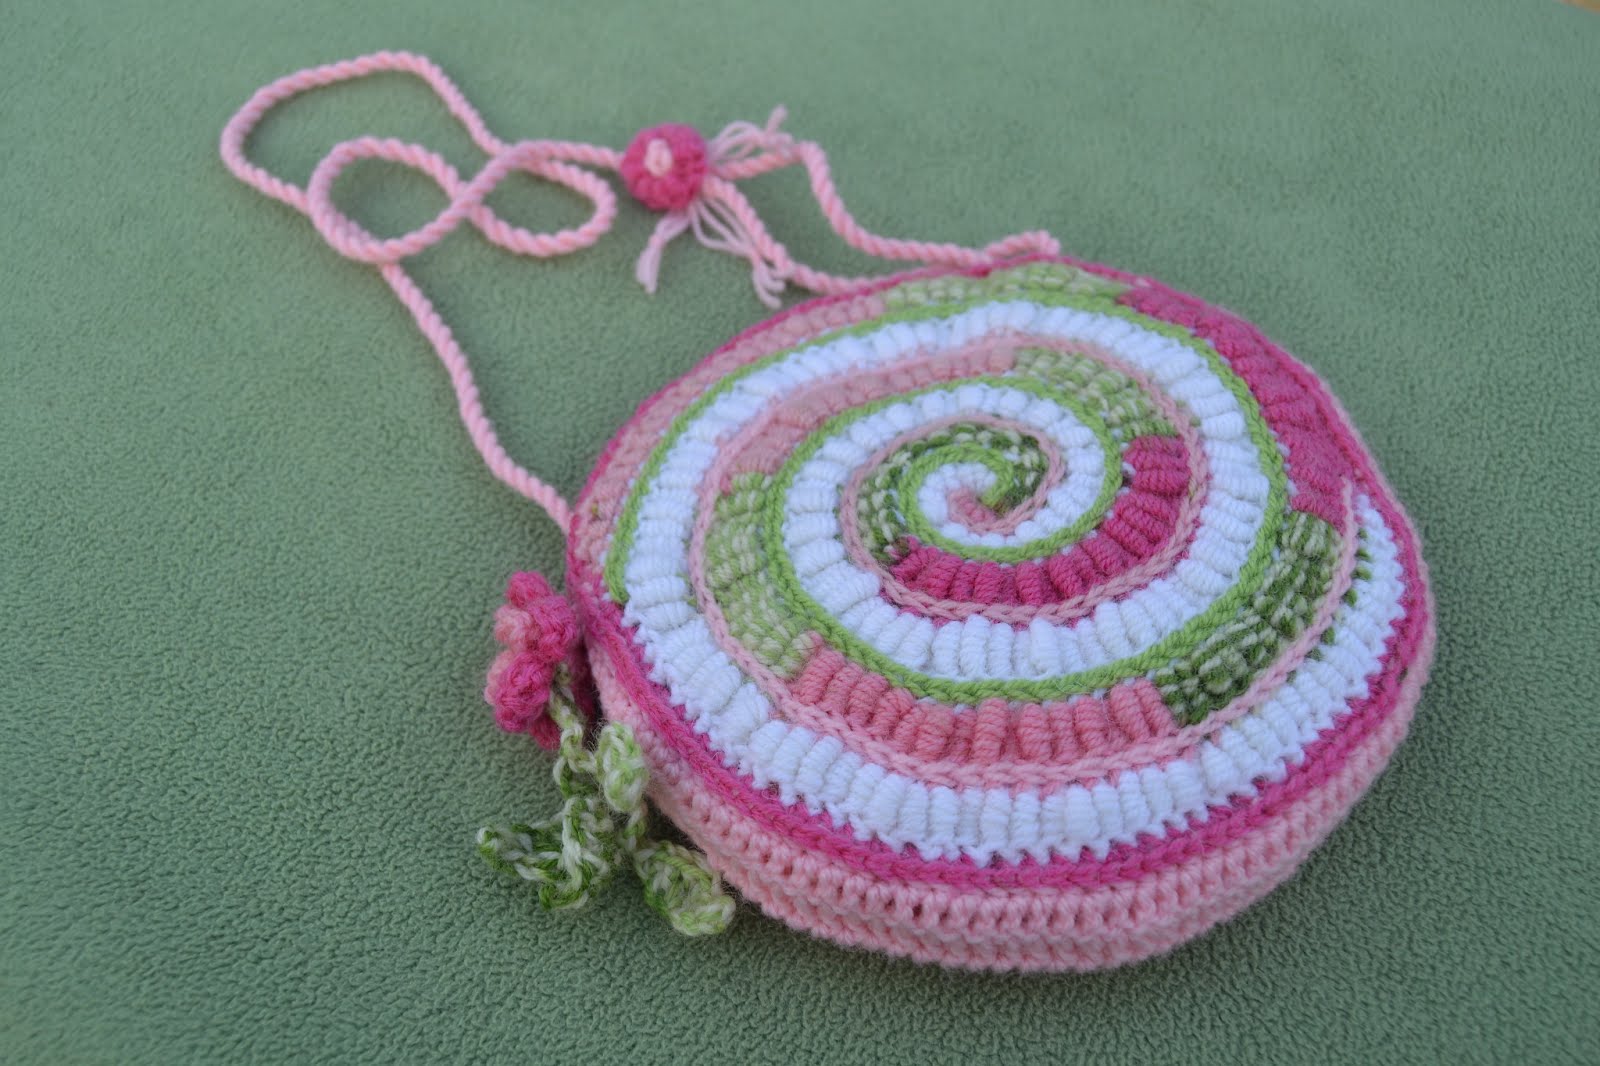
P.S. The first photo on top is a close-up of my second spiral, made with just bullion stitches. It turned into a small handbag that my friend Ellen will get on her 6th birthday party this weekend … Ssssh! Don’t tell her!
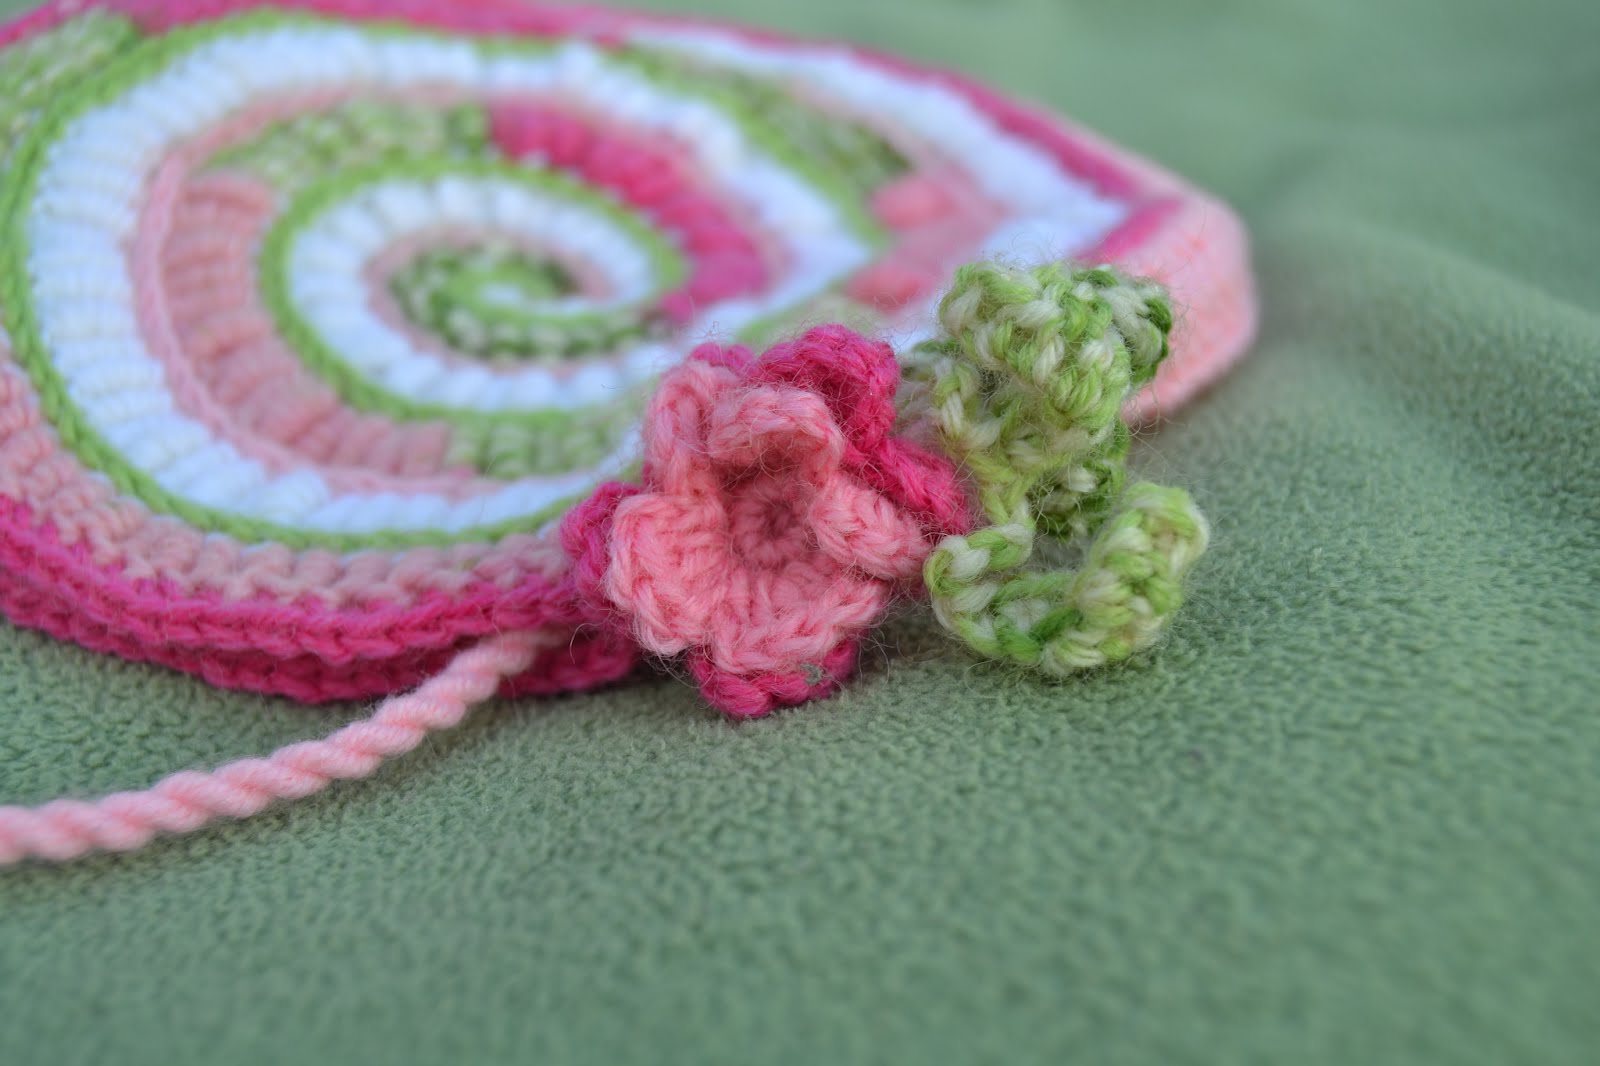
Here’s the bag and a close-up of the crocheted flower. The bag is 6 ½” / 17 cm across. It has a pink cotton lining and closes with a zipper. It’s made from leftover wool yarns, one of them being a pinks to greens multicolored yarn.
Links to my other freeform crochet patterns/postings:
Leave a Reply to MaryCancel reply